• Home
  • Curls
  • Beauty
    • Makeup
    • Skincare
    • Nails
  • Style
  • Lifestyle
    • Pregnancy
  • Videos
  • Contact
  • Resources
    • FREE Curly Hair Product Tracker
  • YouTube
  • Shop
    • Amazon
    • Etsy
    • Teespring Store
    • ObsessedWith.It
  • Links
  • 0
DiscoCurls
Curls. Beauty. Lifestyle.
Category:

Beauty

Hair Oils for Fine Curly Hair

How to Use Hair Oil on Fine, Curly Hair

by Rochelle October 20, 2019

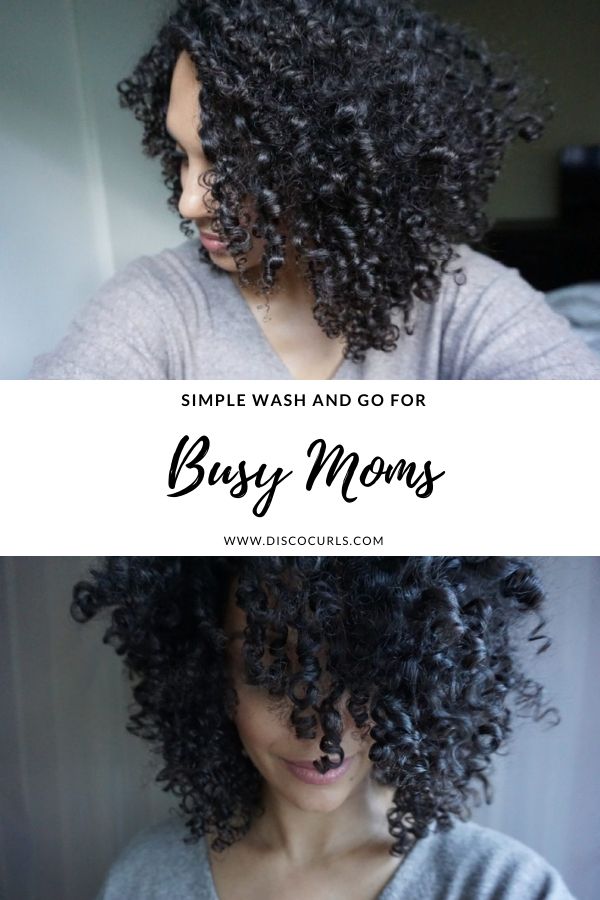
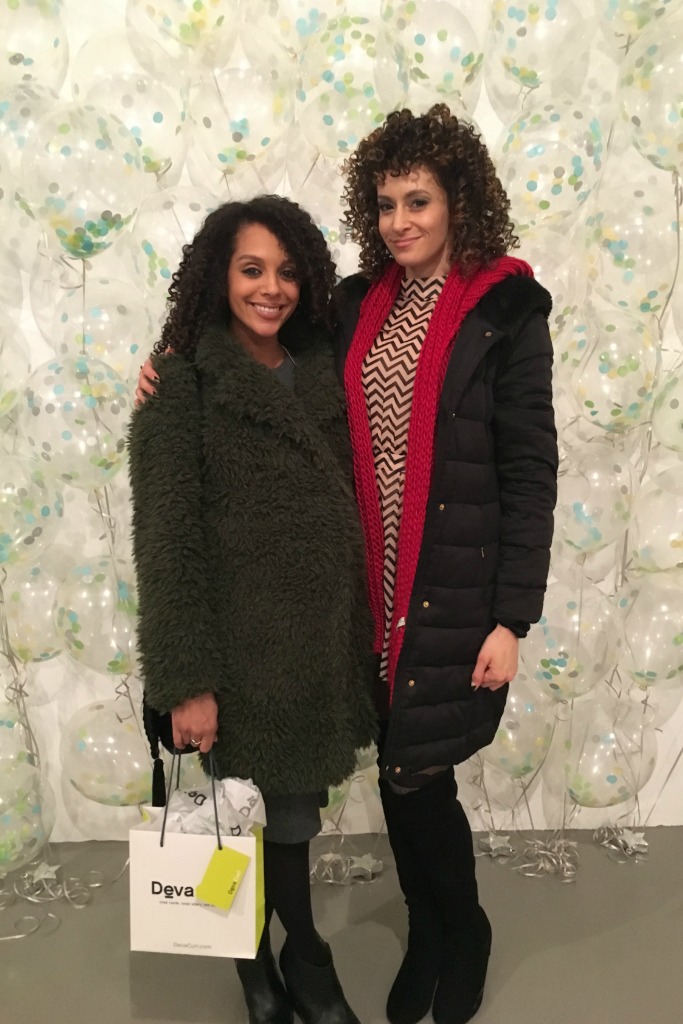
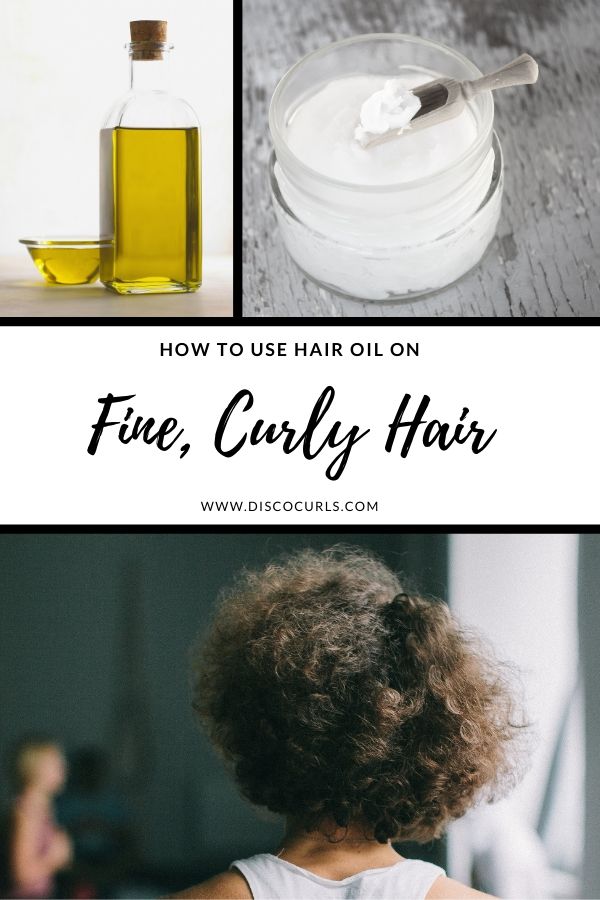
How many of you with fine, low-density curls have noticed that using oils makes your hair greasy and weighed down? Well don’t feel lonely, my experience has been the same. There is a time and a place for each oil and I’ve broken down how to use hair oil on fine, curly hair.

Pre-Poo’s

Pre-poo’s are treatments that are applied to the hair prior to using a shampoo or conditioner. Oils, masks, and other treatments are perfectly fine for this technique. Although coconut oil is heavy and greasy on finer textures, it’s a great pre-poo for detangling. It has so much slip and makes tangles melt away.

To use apply a generous amount of coconut oil to your hair then finger detangle gently. Follow up with a clarifying shampoo to remove the excess oil, then apply a hydrating conditioner.

Now Solutions Jojoba Oil

Intensify Deep Conditioners

When adding oils to deep conditioners, there are plenty of oil options. However, be careful of the ratio of oil to deep conditioner. If the deep conditioner is the last step too much oil will leave your strands weighed down.

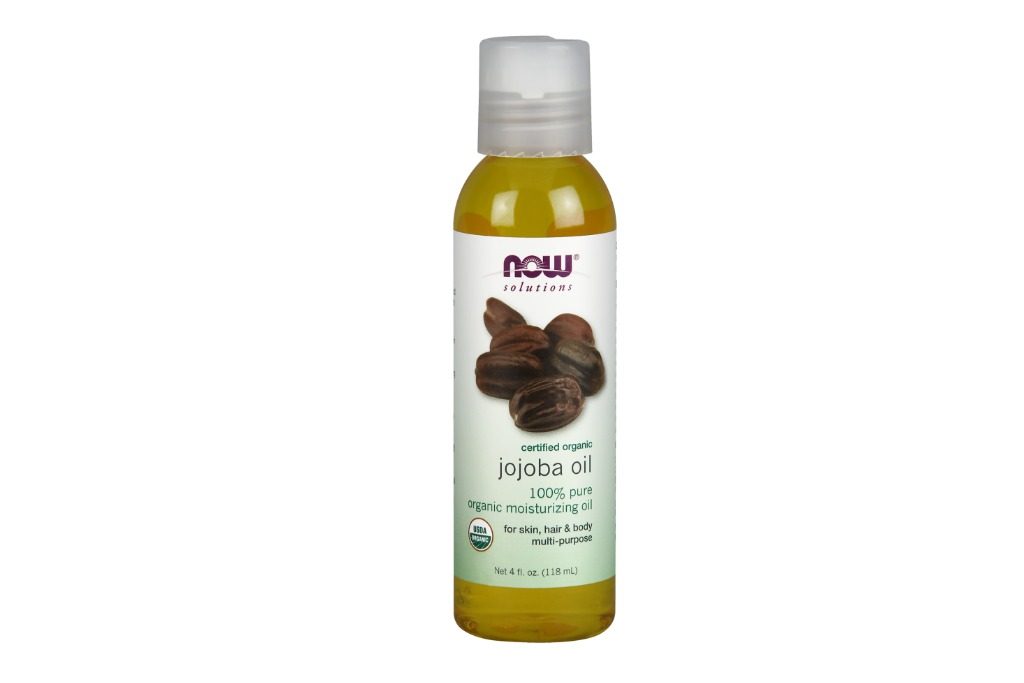
Great oils to try are argan, brassica, sweet almond, and jojoba oil. They are on the lighter side and are better options for fine, curly hair. Another tip is to focus the deep conditioner/oil mix on the mid-shaft area to the ends so that volume isn’t sacrificed.
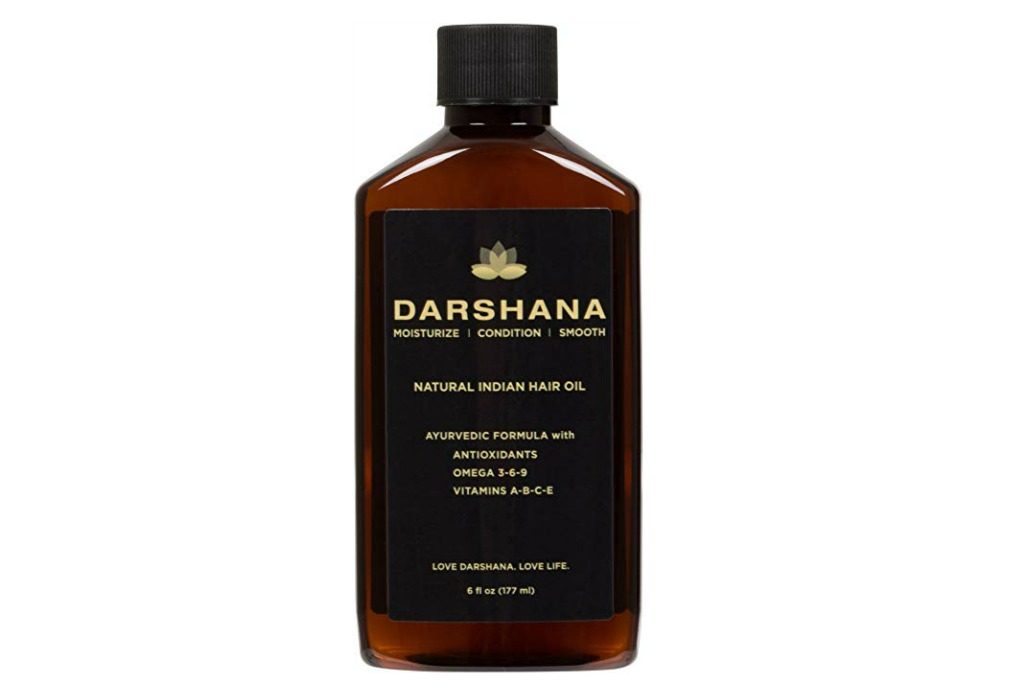
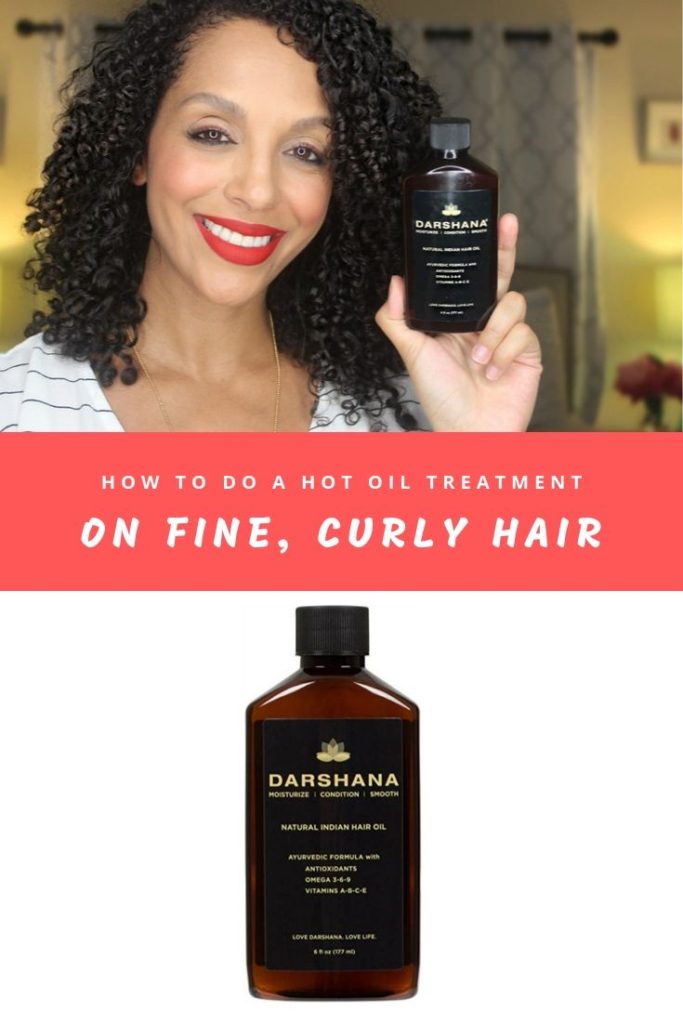
Hot Oil Treatments

Hot oil treatments can be used for a variety of reasons. They can help with dandruff, frizz, and a loss of moisture. They’re available in pre-made packaging or you can make it easily at home.

When using them on finer textures, my favorite trick is to apply them on the mid-shaft area of the hair working down to the ends. In addition, applying them prior to shampooing can avoid the heavy weighed down look. Some of my favorite oils to DIY with are grapeseed, argan, apricot, almond or lightweight blended oils.

Innersense Harmonic Healing Oil

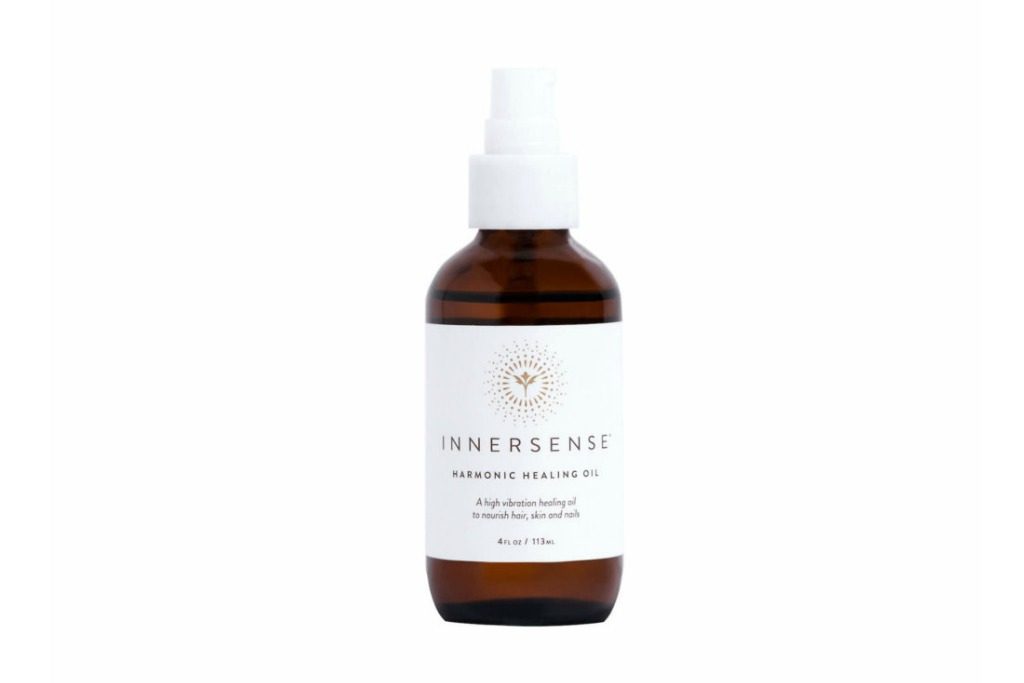
Hair Oil for Dry Ends

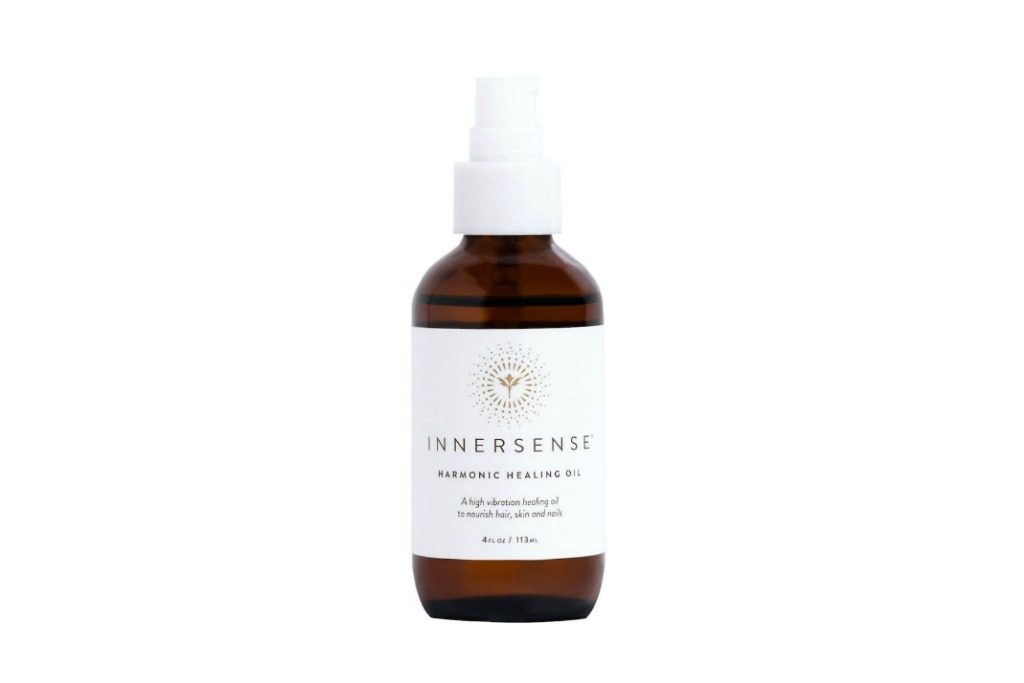
Whether your ends are damaged, color-treated, or splitting, using hair oil can help heal them. Lightweight blends like Innersence’s Harmonic Healing Oil absorb quickly without feeling greasy and have an intoxicating herbal fragrance. Best of all, it’s multi-purpose and you can use it on your skin and nails.

Scalp Massages

Scalp massages stimulate blood circulation and promote healthy hair growth. When focused on growth, an oil like the Tropic Isle Living Red Pimento Oil is my go-to. It’s on the heavier side due to the castor oil but just a few drops for the scalp massage have offered amazing results!

For all other scalp massages, it’s easy to make blends using a carrier oil and specific essential oils. Jojoba or argan oil are great lightweight options that you can blend with a few drops each of peppermint, tea tree, and/or rosemary essential oil.

To create a batch to leave by your nightstand, purchase a glass dropper bottle and fill it with the carrier oil and several drops of the essential oils listed above. Before bed, add a few drops to your hands and fingers and massage for 5 minutes.

What are some of your favorite hair oils for fine, curly hair? Share your favorite oils and the way you use them down below.

1 comment
0 FacebookTwitterPinterestEmail
Hot Oil Treatment

Hot Oil Treatment on Fine, Curly Hair

by Rochelle October 11, 2019

If you have fine, curly hair, you may avoid doing a hot oil treatment. They can weigh down your curls and not in the good way. However, my fail-proof method helps hydrate, seal, add shine and reduce frizz on my own curls. Here’s how I do it.

My Secret Method for Hot Oil Treatments

Doing a pre-poo hot oil treatment has been the best solution for my curls. By doing this, you are able to rinse more of the oils during your shampoo. It also results in less of a chance of flat, lifeless hair when it’s dry.

Best Oils for Fine Curls During Hot Oil Treatments

With fine, low-density curls, there are certain oils that work better than others. My favorites are grapeseed oil, jojoba, argan oil, almond oil, and apricot oil. They don’t leave my hair feeling coated like many of the heavier oils out there. There are also lightweight, pre-made oil blends like the Darshana Natural Indian Hair Oil which.

Darshana Natural Indian Hair Oil for Hot Oil Treatment

The Darshana Natural Indian Hair Oil is a blend of sunflower, coconut, orange peel, olive, apricot, castor, and grapefruit. It also contains a ton of extracts. This ayurvedic formula smells delicious with the orange peel as the first fragrance note noticeable. .

How to do a Hot Oil Treatment on Fine, Curly Hair

  1. Start by pouring a small amount of the oil into a glass mason jar. Place it into a pot of boiling water for just a minute or two.
  2. Because this is a pre-poo, apply this prior to showering and shampooing the hair. I like to start on wet or damp hair so I give it a quick rinse under the sink.
  3. Next, apply the heated oil strategically below the mid-shaft area and ends. You don’t need to apply a lot for this to be effective. If you want to apply this to the scalp, use a small amount (half a teaspoon). Give yourself a quick scalp massage.
  4. Another option is to apply a deep conditioner in the area from your roots to the mid shaft. This will ensure that all of your hair some love.
  5. Next, put on a disposable shower cap or wrap a plastic bag around your head. Give yourself 30 minutes so that everything penetrates and then return to your shower and continue with your wash routine. I personally shampoo just my scalp area, rinse well,  follow up with a conditioner, then rinse it all out.

Post-Treatment Styling Suggestions

I like to stick to lightweight stylers on the days I do a hot oil treatment. I prefer spray style leave-in conditioners, foams or gels best to avoid my hair from getting weighed down.

My results from a hot oil treatment consistently give my curls shine, less frizz and nourishment. Share your favorite ways to do a hot oil treatment plus your favorite blended oils down below in the comments.

10 comments
1 FacebookTwitterPinterestEmail
Curly Hair Products Under $5

Curly Hair Products Under $5

by Rochelle October 4, 2019

Finding affordable curly hair products is not an easy challenge. Especially if the focus is organic and natural ingredients. However, if you’re willing to let some of the ingredients slide, there are plenty that do a fantastic job of defining, moisturizing, and smoothing out frizzy curls. Check out this budget-friendly list of 5 curly hair products under $5.

Herbal Essences Hello Hydration Conditioner

Herbal Essence Hello Hydration Conditioner

This affordable conditioner has tons of slip, a great coconut scent and made detangling so easy. After a co-wash with this there was noticebly less shedding. Additionally, it’s paraben, gluten and mineral oil free, color safe and infused with coconut extracts. Herbal Essence Hello Hydration Conditioner $2.99

Aussie 3 Minute Miracle Moist Deep Conditioner

Aussie 3 Minute Miracle Moist Deep Conditioner

An old time favorite is the Aussie 3 Minute Miracle Moist Deep Conditioner. It always had a way of making itself into my product rotation as a teenager then again after restarting my curly hair journey.

It contains aloe, jojoba oil and sea kelp it’s amazing because it provides quick moisture to my thirsty hair. For someone as limited on time like myself, 3 minutes is about all I have to contribute to deep conditioning. Aussie 3 Minute Miracle Moist Deep Conditioner $2.99

Garnier Fructis Sleek & Shine Intensely Smooth Leave-In Conditioning Cream

Garnier Sleek and Shine Intensely Smooth Leave-In

Another oldie but goodie is the Garnier Sleek and Shine Intensely Smooth Leave-In. Retailing at $2.99, this is designed for frizzy, dry, unmanageable hair. It contains argan oil and their Active Fruit Protein which is a combination of citrus protein, vitamins B3 & B6 and fruit and plant-derived extracts.

Eco Styler Professional Styling Gel Olive Oil Curly Hair Product

EcoStyler Olive Oil Gel

Love it or hate it, EcoStyler gel made the list. The jumbo size has never been necessary in my eyes but the 16 oz is more than enough and retails at only $2.99. The olive oil variation applies sticky at first but after air-drying it doesn’t flake, feel crunchy and made my curls tight and springy. The only con was the scent but that was personal preference.

Creme of Nature Perfect Edges

Creme of Nature Perfect Edges

An edge control with color? Sign me up! If thinning edges and gray hair are some of your problems, this is a quick and temporary solution. My normal go to has been Toppik Hair Building Fibers but it’s a bit pricier.

A helpful tip for edges is to apply further away from the hairline then move closer. This ensures that it gradually gets lighter like a natural hairline. Creme of Nature Perfect Edges can be applied with the fingers, a toothbrush or brush. Retails at $4.59.  

Share your favorite curly hair products under $5 down below in the comments.

1 comment
0 FacebookTwitterPinterestEmail
stylers for fine low density curls

9 Amazing Stylers for Fine Low-Density Curls

by Rochelle September 25, 2019

Having topics that benefit the finer textures are an absolute necessity on this blog. That’s why I decided to list these 9 amazing stylers for fine, low-density curls. All of these have been tried and true and are on a constant rotation in my current curly hair routine. Check out my favorites below.

Not Your Mother’s Naturals 
Tahitian Gardenia Flower & Mango Butter

Not Your Mother's Naturals Tahitian Gardenia Flower & Mango Butter Curl Defining Detangler

The Not Your Mother’s Naturals Tahitian Gardenia Flower & Mango Butter Curl Defining Detangler is an affordable leave-in and detangler for curly hair. It’s hydrating, adds shine, has major slip, and detangles your curls so easily. In addition, it’s free of sulfates, silicones, parabens, silicones, parabens, phthalates, gluten or dyes. This is something I’ve purchased over and over again and quickly becoming one of my favorite budget-friendly brands. The ways that it works best are as a leave-in detangler as well as a second day refresher.

Hask Biotin Boost Thickening Cream

Hask Biotin Boost Thickening Cream for fine, low-density curls

Sadly, this holy grail product of mine is being discontinued so it’s not easy to find. If you are lucky enough to snag it, stock up! This is made with biotin, collagen & coffee and the cream formula is lightweight. What makes this amazing is that it clumps curls together to give visible volume. In my experience, applying this after my leave-in conditioner and before my styler works best. Watch this to see the before and after.

The Mane Choice Herbal Tonic & Soy Milk Softening Milk

The Mane Choice Herbal Tonic & Soy Milk Softening Milk for fine, low-density curls

A newer addition to my curl collection is the Mane Choice Heavenly Halo Softening Milk. It’s not easy finding cream stylers for fine, low-density curls that don’t weigh it down the hair and include wonderful ingredients. It does contain a variety of oils but surprisingly it doesn’t weigh down the hair. The formula has great slip and softens the hair so it can be used as both your leave-in and a moisturizer. Some of the other benefits are that it soothes a dry scalp, promotes hair growth and strengthens & nourishes the hair.

DevaCurl Styling Cream

DevaCurl Styling Cream for fine low density curls

The O.G. styling cream that never leaves my side is the DevaCurl Styling Cream. It is truly my one and done product that is the MOST dependable. This is for those that like soft and touchable definition, want to add moisture, and frizz-control. Best of all, DevaCurl’s products are always 100% sulfate, paraben, silicone free. This can be used alone as well as in layers by starting with a leave-in and/or adding a bit of gel on top for more hold.

Not Your Mother’s Curl Talk Curl Activating Mousse

Not Your Mother's Curl Talk Curl Activating Mousse

Don’t sleep on the mousse! If you have curls are fine and low-density a mousse can help give you day 2 or 3 volume on day 1! The Not Your Mothers Curl Talk Curl Activating Mousse is very popular with curly influencers and for good reason. It gives the hair lift and volume, the hold is lightweight, it offers humidity protection, controls frizz and it is paraben, silicone, dye, and alcohol free. I typically just use a lightweight leave in and follow up with the mousse and that’s it. In my experience, adding gels or creams defeats the purpose and weighs the hair down.

DevaCurl Light Defining Gel

DevaCurl Light Defining Gel

For overall definition and hold, the DevaCurl Light Defining Gel does the job. This soft hold gel makes the curls shiny and defined. Not a crunchy curl in sight! When I need a wash and go to last longer than a few days, the DevaCurl Ultra Defining Gel is the alternate. Both gels have a formula that is non-sticky on the hands.

Innersense Refresh Dry Shampoo

Innersense Refresh Dry Shampoo for fine, low-density curls

Many wouldn’t consider a dry shampoo as part of their stylers for fine curly hair. Why? Because most dry shampoos are sprays or powders and leave the hair more dry, or sticky or a residue. The Innersense Refresh Dry Shampoo is very innovative because it is a foam formula. It uses witch hazel & rice starch to absorb oil and organic honey to add shine and body. This is super helpful for the day after you’ve done a scalp massage with oils. If you don’t have fine, curly hair than this may not be a necessity but if oil-based scalp massages are causing flat roots, this is the product for you. Another great use is to use this after experimenting with new products that are too heavy for the hair.

Creme of Nature Perfect Edges

Creme of Nature Perfect Edges for fine, low-density curls

Fine, curly and low-density hair has a reputation for looking see-through, scalpy and thin. Luckily, this edge control covers many bases by offering temporary color, filling in thin edges, and covering grays. A must-have item for slick ponytails and updos.

Innersense Harmonic Healing Oil

Innersense Harmonic Healing Oil for fine, low-density curls

Lastly, is my favorite oil the Innersense Harmonic Healing Oil. It’s great for the hair, skin, and nails and a blend of many oils like safflower, evening primrose, macadamia seed, tamanu, hazel seed, orange flower jojoba seed and rosemary. As a treatment, massage a few generous pumps to the scalp and ends. Leave it on for 20 minutes, then follow up with a shampoo and conditioner. Your curls will feel softer and more manageable. It’s lightweight formula also adds shine, smells fantastic and doesn’t leave the hair coated.

And that completes my list of my favorite stylers for fine, low-density curls. Share your personal favorites down below in the comments.

Watch the YouTube video here: https://youtu.be/8KsgPD_QXY0

3 comments
0 FacebookTwitterPinterestEmail
Wash N' Go with Innersense Beauty

Simple Wash N’ Go for Busy Moms ft. Innersense Beauty

by Rochelle December 4, 2017

Since having my son, simplicity has taken over in my beauty routines. It’s truly a treat when there’s time to deep condition, apply a face mask or polish to my toes. Needless to say, if I find a hair care system that’s quick and easy, I’m all over it. Recently, Innersense Beauty launched their I Create Lift Volumizing Foam and it sounded like the perfect styler for my simple wash n’ go and new busy life.

Why Innersense Rocks

Innersense has a great reputation for clean ingredients making it perfect for all hair types. However, it’s especially perfect for pregnant and nursing women concerned with what they are putting into their bodies. In addition, Innersense is cruelty free and always formulated without phthalates, ethoxylates, sulfates, silicones, 1, 4, dioxane, parabens, petro compounds, propylene and butylene glycol, PEG, MEA, TEA, MIA, artificial dyes, synthetic fragrance, gluten, or GMO’s.

Wash N' Go with Innersense Beauty

Shiny Bouncy Curls using Innersense

Wash N’ Go Must-Haves

Innersense Hydrating Cream Hair Bath: This deeply hydrating cream shampoo is enriched with sage essential oil and tamanu to help balance the oil on the scalp. Nourishing emollients soften and smooth the cuticle. The silicone-free formula leaves hair bouncy, without residue.

Innersense Hydrating Cream Conditioner: This silicone-free emollient rich conditioner moisturizes dry, coarse hair. Certified organic monoi oil and aloe strengthen the hair follicles, smoothes cuticles, and fights frizz while orange flower delivers beautiful shine.

Innersense I Create Lift Volumizing Foam: This lightweight styler adds texture, boosts volume,  and defines curls. It’s formulated with a blend of certified organic ingredients, aloe vera, honey, frangipani and lavender orange flower oil.

images of curly hair

simple wash and go for busy moms

My Three Step Wash N’ Go for Busy Moms

Step 1

Begin this wash n’ go by thoroughly saturating your curls with water. Add a small amount of the Innersense Hydrating Cream Hair Bath into the palm of your hands and work into a light lather. Apply to the scalp and spend a couple minutes massaging the hair bath into your scalp with your fingertips. Rinse well to remove all traces of the hair bath. If the buildup is heavy and time allows it, repeat the process.

Step 2

Next, apply a generous amount of the Innersense Hydrating Cream Conditioner to your curls from midshaft to the ends. Detangle using a wide-tooth comb, or shower brush. Leave it on the hair for 5 minutes to deeply moisturize and use that time to complete the rest of your shower process. Rinse thoroughly and blot hair dry using a soft T-shirt or paper towels.

Step 3

Lastly, add a few pumps of the Innersense I Create Lift Volumizing Foam into the palm of your hands and rake it through sections of your curls. For extra definition, twist individual curls with fingers and then scrunch with both hands. Add more foam as needed and let it either air-dry or use a blow-dryer with a diffuser attachment. Once hair is dry, gently shake out the roots and scrunch to break up the cast. Use a pick at the roots to add more volume.

If you’re new to motherhood and still trying to get the hang of things, share your simple wash n’ go for busy moms below in the comments.  

Watch the video here:

5 comments
0 FacebookTwitterPinterestEmail
Postpartum Hair Loss

My Postpartum Hair Loss & Shedding Story

by Rochelle November 2, 2017

As many mothers know, during pregnancy, you will be blessed with luscious, full locks of hair that will make you do a double take. Unfortunately, you are likely to lose a large portion of it after delivery when your hair returns to its normal growth cycle. My postpartum hair loss is in full effect since having my son. It didn’t start until about 10 weeks postpartum but it’s important to share my story to help the other mothers or mothers-to-be out there.

Why does postpartum hair loss happen?

The normal hair growth cycle begins with the anagen phase (the growth phase), the catagen phase (the transitional phase), and the telogen phase (the resting phase). It is at the end of the telogen phase that a new hair shaft will surface resulting in shedding. The increase of estrogen during pregnancy causes the hair to continue growing and the hairs that are supposed to shed remain in place which gives the appearance of fuller, thicker hair.

Postpartum hair loss happens because when your hair returns to it’s normal growth cycle, all of the hair that was supposed to shed suddenly sheds all at once. If you shed 100 hairs per day normally but don’t shed any for 9 months, do the math and imagine whats to come in your postpartum future. What I’ve learned is that it is totally normal and eventually your hair will return.

My postpartum hair loss story

Around 10 weeks postpartum, I noticed an excessive amount of hair coming out of my Wet Brush while detangling. Although it was expected, it still took me by surprise. Some might cringe over this next statement but I started collecting the shed hair to document my hair loss. The image below shows the average amount of hair loss I experienced from each wash day.

Postpartum Shedding

Postpartum Shedding

Along with the hair loss comes the emotions. How much hair am I going to lose? Will it ever grow back? What you don’t know is that over time, I’ve developed a thick skin because of a previous bout with traction alopecia. It’s haunted me for years from wearing weaves and high manipulation styles.

Postpartum regrowth plan

My main concern, even more than my hair appearing thinner, is preserving my edges. They definitely were hit hard and are now noticeably thinner. The one good thing is that during all of my time on YouTube, I have learned to bring them back from the dead. Some of those things include:

  • Continuing with my prenatal vitamins
  • Keeping my scalp clean by using a clarifying shampoo
  • Deep conditioning my hair once a week
  • Using a Q-Redew handheld vapor wand to open up the pores on my scalp
  • Including essential oils like peppermint and rosemary in my shampoo & stylers to promote growth
  • Nightly scalp massages using a carrier oil and a couple drops of essential oils (peppermint, rosemary & tea tree are my favorite)

Postpartum Hair Loss

Postpartum Hair Loss

A new technique that I’m going to include is the use of a derma roller. A derma roller is a handheld device that has hundreds of tiny needles and is commonly used to produce collagen on the skin. It is also said that its use can help stimulate hair growth. With my fear or needles, it sounds like the last thing I want to try. However, if it works it will be so worth the pain!

My postpartum hair loss case hasn’t been terrible considering my history. It’s now been 6 months postpartum and it has definitely slowed down. There is a noticeable improvement on my hairline and hair overall. In total, the experience lasted about 3 months and I’m finally feeling like myself again.

image of postpartum hair loss

What are your favorite ways to speed up your postpartum hair growth? Share with me down below in the comments…

Video: MY POSTPARTUM HAIR LOSS & SHEDDING | MEET MATTEO | DISCOCURLSTV

10 comments
2 FacebookTwitterPinterestEmail

Temporary Highlights With Hair Flash Color

by Rochelle July 20, 2017

This post contains affiliate links, including my Hair Flash Color referral link. I may earn a small commission each time someone makes a purchase through one of my links, which helps to support my blog. Additionally, this product was sent complimentary of Hair Flash Color. All opinions are honest, my own and I’m so excited to share them with you. 

Since having my little one, leaving the house can be a challenge. I’ve desperately been looking for a new look but haven’t had a minute to myself. With the weather warming up, I thought adding temporary highlights would be a quick way to change up my hair in minutes. Unfortunately, not all temporary color is created equal. Hair chalks don’t last on my hair and most colored hair sprays leave my curls crunchy. Luckily, I’ve discovered Hair Flash Color which has completely changed my opinion on temporary color.

What Is Hair Flash Color?

Hair Flash Color is a 2-in-1 temporary hair color and hair care formula that contains antioxidants, UV protection, hydrating natural ingredients, and natural mineral pigments. It can be used to add temporary highlights, touch up and cover roots, add a new color, and protect and nourish the hair. Plus, it washes out in one shampoo making it perfect for special occasions.

How To Get Temporary Highlights With Hair Flash Color

To get natural looking highlights, choose a shade that is 1 to 2 shades lighter than your hair color. For my dark brown hair, the shade Light Brown worked best. Cover shoulders with a towel or cape. Section off the top half of your hair and secure with an elastic or clip. Shake the can well and spray the tips of your ends on the bottom section. Release the elastic or clip from the top half and spray random sections of hair to create natural highlights.

Hair Flash Color Temporary Highlights

My hair before Hair Flash Color

To my surprise, my hair was soft to touch and after letting it dry it didn’t rub off on my clothing. This has been my favorite temporary color to date and my only suggestion to this company is to create a larger sized can for more use.

Hair Flash Color Temporary Highlights

My hair after Hair Flash Color

Watch the Full Tutorial Here:

What are your thoughts on this color? Let me know down below in the comments.

Want to try Hair Flash Color? Use my discount code for 10% off your next purchase: B10DISCO

Visit http://www.hairflashcolor.com

Visit Hair Flash Color YouTube here

temporary highlights on curly hair

0 comment
2 FacebookTwitterPinterestEmail
DevaCurl Buildup Buster Launch

DevaCurl Buildup Buster Launch in NYC

by Rochelle March 14, 2017

Last month, I was invited to NYC with a bunch of other curly influencers for the DevaCurl Buildup Buster launch. It felt like the trip of a lifetime because not only did I get to experience this innovative new product but I met so many of my curl sisters from the online world. Here’s a recap of my two amazing days in NYC.

Day 1: Check in & Workout?

DevaCurl was so amazing for setting this trip up for us all. Many of us flew in from all corners of the country and some internationally. We checked into the hotel and were greeted with a goodie bag filled with a little swag and our itinerary. I was already prepped for the first activity which included a high-intensity dance cardio class at 305 Fitness. With no plans to actually take the class (because I was 6 months pregnant), I still dressed the part and filled my water bottle up to watch and laugh at everyone. But…

Rochelle Masella & Jaime Linn

Meeting My Online Friends IRL

something happened when I got there, I saw Beyonce art plastered on the wall and heard the music blasting. My inner Beyonce wanted to come out to play…just at a lower intensity. I really needed to work out because I had been slacking so I stood in the back of the class and two-stepped my way through. Had I participated like the others, I may have delivered right there on the floor. Luckily, I knew that I had to listen to my body, take frequent breaks, and drink lots of water. We celebrated with a vegan meal at by Chloe and then I was off to bed.

Day 2: Devachan Salon & DevaCurl Buildup Buster Launch Party

Our next day started with a day at the Devachan salon for the ‘Bounce Back” service. After grabbing a quick breakfast, I was greeted by Smadar, my hair stylist and she took me back to the shampoo bowl where I was introduced to Buildup Buster. After a night of breaking a sweat, it made complete sense to me to have this service. Buildup Buster is a micellar water cleansing serum that uses micellar technology to remove buildup from products, hard water and other environmental stressors. She explained how Buildup Buster is similar to a clarifying shampoo but doesn’t strip the hair. Instead it leaves the hair soft with the help of abyssianian oil and jojoba esters. It can be used weekly instead of shampoo and should be followed up with a conditioner like DevaCurl One Condition.

After receiving my treatment, it was off to the chair where she used the DevaCurl Frizz-Free Volumizing Foam and DevaClips to bring volume to my roots. After my curls were dried, she finished off with a little spritz of the DevaCurl Flexible-Hold Hair Spray. My curls had tons of volume and they were party ready!

DevaCurl Buildup Buster

Later that night, we attended the Buildup Buster Launch Party. It was held at the beautiful Root Studios and I was in complete awe of all the curls in one room. There was a photographer, a slo-mo camera, a green screen station and Shake Shack ( I have to admit that got me really excited). I gravitated to the slo-mo camera because I always wanted to star in my own hair commercial (who doesn’t). In addition, a group of us jumped into the green screen station to create our own Buildup Buster commercial. Most importantly, I had the opportunity to meet some of my favorite curly influencers and turned my online friends into real ones.

Big thanks to the team at DevaCurl for this opportunity! It truly was an amazing trip that united my curly sisterhood.

Have you had the chance to try DevaCurl’s Buildup Buster? Let me know how it’s working for you down below in the comments…

Watch the vlog from my trip to NYC:


0 comment
0 FacebookTwitterPinterestEmail
Heatless Blowout

Heatless Blowout | From Curly to Straight

by Rochelle March 7, 2017

Have you ever wanted a blowout without the heat damage? Well, I have a solution that works well on naturally curly hair as well as relaxed hair.  In fact, this is something I used to do frequently when my hair was relaxed to keep a straight style throughout the week. This heatless blowout technique is essentially the same but slightly difficult because of the texture of curly hair.

Heatless Blowout

One of the most important elements of this process is to start on clean hair. Especially if your hair is on the fine, curly side. Use a clarifying shampoo to remove all traces of buildup and dirt on the hair and scalp. Follow up with a moisturizing conditioner and be sure to detangle and rinse well. Blot dry your curls with a t-shirt or paper towels.

How to Wrap Your Hair

Using a wide tooth comb or Wet Brush, detangle the hair one more time. I can’t stress enough the importance of detangling your curls before the wrap technique. It will make the process much smoother. Next, apply a generous amount of Jane Carter Solution Wrap & Roll to your curls and distribute well using a Wet Brush.

Now it’s time to section the hair. The length of your hair can help you determine where your part starts. If your hair is chin length or shorter you can probably start with a deep side part. However, if your hair is longer starting your part behind your ear will be beneficial to keep it flat and smooth.

The key to wrapping is to think of it as one continuous circle. After you’ve created your part, begin brushing the hair flat against the scalp from the front, along the forehead, and behind the ears. To keep the smoothed hair in place, secure with flat duckbill clips and then continue with the wrapping. If you can see or feel bumps, use a rat tail comb to smooth it. When you’re finished, it should resemble a beehive that is laid flat along the scalp. Add flat duckbill clips to ensure that it stays in place.

heatless blowout on curly hair

Overnight/Next Day Care

Next, use a silk or satin scarf to tie down the style and go to bed. It’s very important that you give yourself plenty of time for this to dry otherwise you will end up with random curls and waves. Once your hair is 100% dry, take off the scarf and remove the clips. Using a wide tooth comb, gently unravel the wrap and comb through the hair.

For a visual demonstration, check out my tutorial below. Let me know what your favorite heatless blowout technique’s are below in the comments. 

0 comment
0 FacebookTwitterPinterestEmail
Easy Headwrap Updo

Easy Headwrap Updo | Alicia Keys Inspired

by Rochelle March 1, 2017

I’ve always loved the natural beauty of Alicia Keys. From her beautiful curls to her makeup free skin. In the last recent months, I’ve enjoyed her hairstyles that include headscarves so I thought I would include a quick tutorial on how to get the look. Here’s one way to do an easy headwrap updo.

What You’ll Need

Elastic Ponytail Holder

Large Colorful Silky Scarf

Easy Headwrap Updo

Begin by gathering all of your curls up near the top of your hairline and securing it with an elastic. This is also known as a pineapple ponytail. It looks great to have the ponytail off center to add a bit of flair. Next, fold your scarf a couple times to make it long and rectangular. Starting at the back of your neck, center the scarf along the nape of your neck. You want to make sure that the size of your scarf covers from your hairline up near the base of your ponytail. Bring the two ends of the scarf to the front of your head and tie a simple knot.

Silk Headwrap

Then, wrap the two scarf ends towards the back so that they overlap and back to the front again. Depending on the length of your scarf, you may have to wrap it a couple times until you’ve come near the ends. Once you’ve reached the ends of the scarf, tie another knot and tuck in the ends.

Adjust and fluff your curls using your fingers or a hair pick. The final look should be asymmetrical.

head wrap on curly hair

What easy headwrap hairstyles have you done? Let me know down below in the comments. Want to see other headwrap styles? Click here. 

Watch The Full Tutorial Here

0 comment
0 FacebookTwitterPinterestEmail
Newer Posts
Older Posts

Newsletter

Keep in touch

Instagram Pinterest Youtube
discocurldesigns - Etsy
Shop Curly Hair Merchandise by discocurldesigns located in LA, California.
  • Facebook
  • Twitter
  • Instagram
  • Pinterest
  • Youtube
  • Contact
  • Privacy Policy

© 2016-2023 DiscoCurls.com. All Rights Reserved.


Back To Top
DiscoCurls
  • Home
  • Curls
  • Beauty
    • Makeup
    • Skincare
    • Nails
  • Style
  • Lifestyle
    • Pregnancy
  • Videos
  • Contact
  • Resources
    • FREE Curly Hair Product Tracker
  • YouTube
  • Shop
    • Amazon
    • Etsy
    • Teespring Store
    • ObsessedWith.It
  • Links

Shopping Cart

Close

No products in the cart.

Close