Some of the links in this post may be affiliate links. This means if you click on the link and purchase the item, I will receive an affiliate commission at no extra cost to you. All opinions remain my own.
Some of the links in this post may be affiliate links. This means if you click on the link and purchase the item, I will receive an affiliate commission at no extra cost to you. All opinions remain my own.
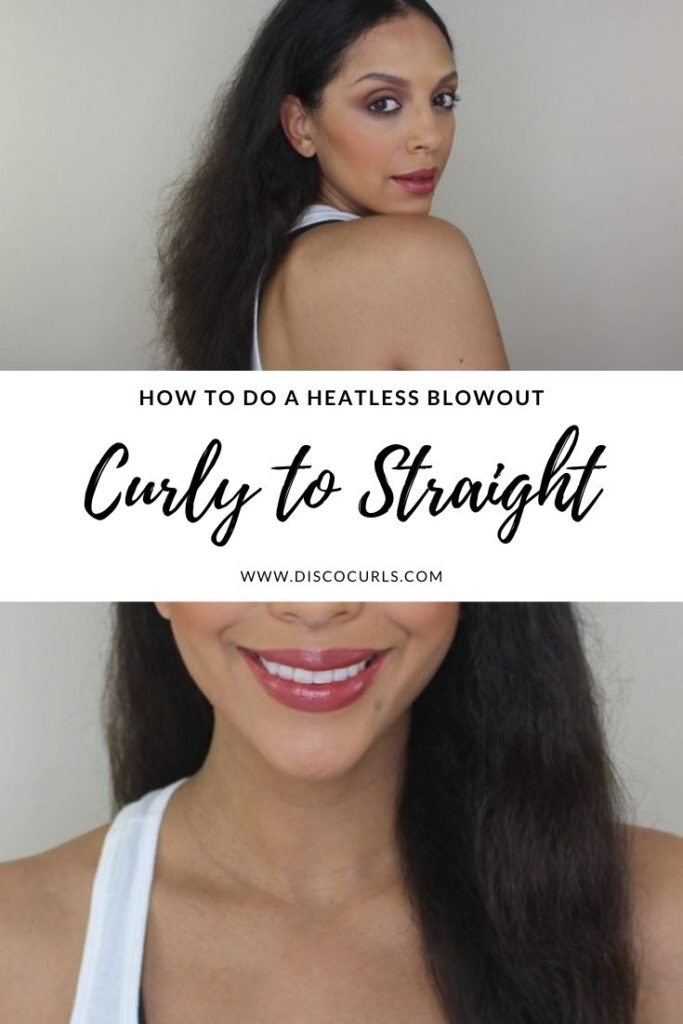
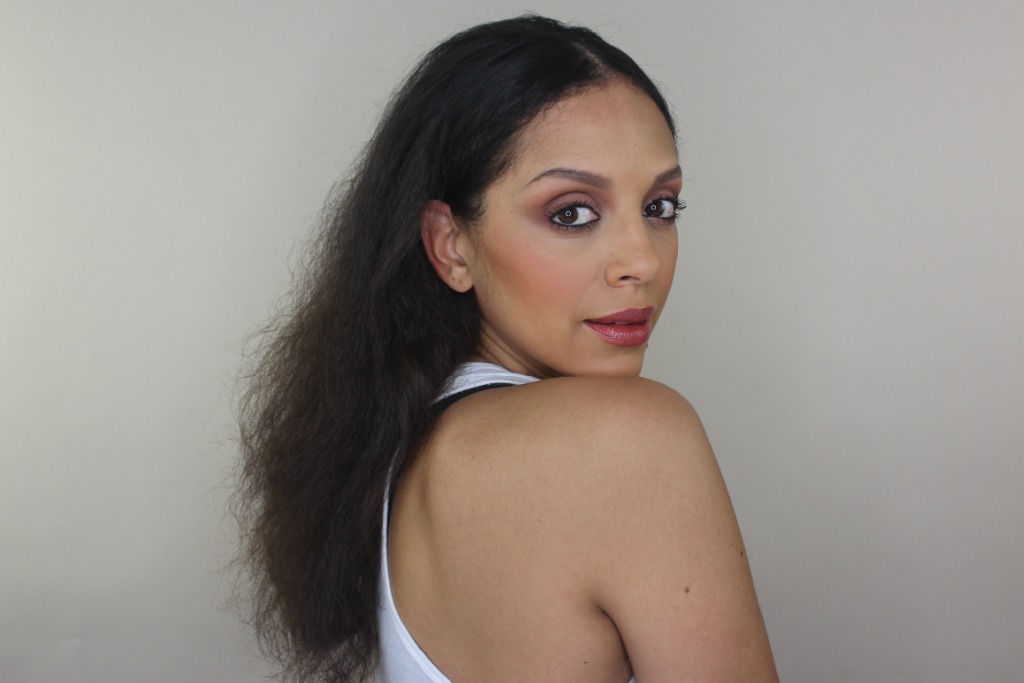
Have you ever wanted a blowout without the heat damage? Well, I have a solution that works well on naturally curly hair as well as relaxed hair. In fact, this is something I used to do frequently when my hair was relaxed to keep a straight style throughout the week. This heatless blowout technique is essentially the same but slightly difficult because of the texture of curly hair.
Heatless Blowout
One of the most important elements of this process is to start on clean hair. Especially if your hair is on the fine, curly side. Use a clarifying shampoo to remove all traces of buildup and dirt on the hair and scalp. Follow up with a moisturizing conditioner and be sure to detangle and rinse well. Blot dry your curls with a t-shirt or paper towels.
How to Wrap Your Hair
Using a wide tooth comb or Wet Brush, detangle the hair one more time. I can’t stress enough the importance of detangling your curls before the wrap technique. It will make the process much smoother. Next, apply a generous amount of Jane Carter Solution Wrap & Roll to your curls and distribute well using a Wet Brush.
Now it’s time to section the hair. The length of your hair can help you determine where your part starts. If your hair is chin length or shorter you can probably start with a deep side part. However, if your hair is longer starting your part behind your ear will be beneficial to keep it flat and smooth.
The key to wrapping is to think of it as one continuous circle. After you’ve created your part, begin brushing the hair flat against the scalp from the front, along the forehead, and behind the ears. To keep the smoothed hair in place, secure with flat duckbill clips and then continue with the wrapping. If you can see or feel bumps, use a rat tail comb to smooth it. When you’re finished, it should resemble a beehive that is laid flat along the scalp. Add flat duckbill clips to ensure that it stays in place.

Overnight/Next Day Care
Next, use a silk or satin scarf to tie down the style and go to bed. It’s very important that you give yourself plenty of time for this to dry otherwise you will end up with random curls and waves. Once your hair is 100% dry, take off the scarf and remove the clips. Using a wide tooth comb, gently unravel the wrap and comb through the hair.
For a visual demonstration, check out my tutorial below. Let me know what your favorite heatless blowout technique’s are below in the comments.

