• Home
  • Curls
  • Beauty
    • Makeup
    • Skincare
    • Nails
  • Style
  • Lifestyle
    • Pregnancy
  • Videos
  • Contact
  • Resources
    • FREE Curly Hair Product Tracker
  • YouTube
  • Shop
    • Amazon
    • Etsy
    • Teespring Store
    • ObsessedWith.It
  • Links
  • 0
DiscoCurls
Curls. Beauty. Lifestyle.
Category:

Hair

curly hair at the pool

5 Ways to Protect Curly Hair from the Pool

by Rochelle July 16, 2021

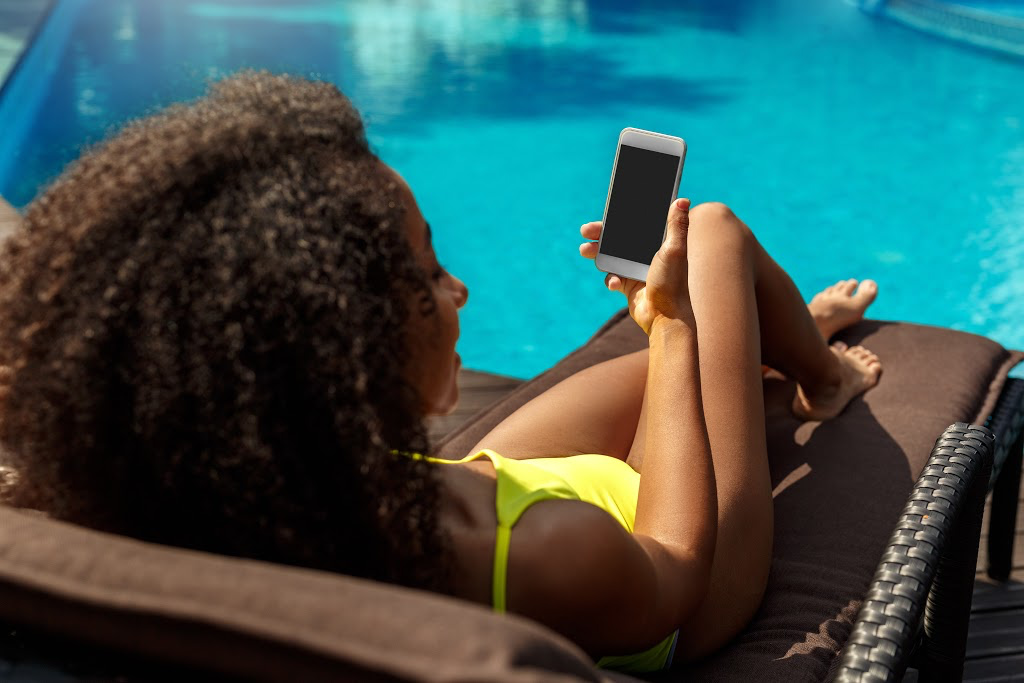
Ready to hit the pool? Not so fast curl friends. Even though we are at the peak of summer, you may want to think twice before diving in. Your hair will need a little T.L.C. pre and post-swim so you may want to try these 5 ways to protect curly hair from the pool.

How to Protect Curly Hair from Chlorine

Chlorine is a chemical that is used to sanitize pool water to make it safe for swimming. While it does a great job cleaning the water it’s not ideal for hair. It drys and damages the hair, stripping it of its natural oils. In some cases, it can change the hair color.

women on a MacBook
Track Curly Hair Products With This FREE Printable!
Introducing the Curly Hair Product Tracker, a printable to document how each and every one of your products works on your curls.

Protecting the hair is key but it’s even more important with curls because our hair is already dry. Here are a few helpful options.

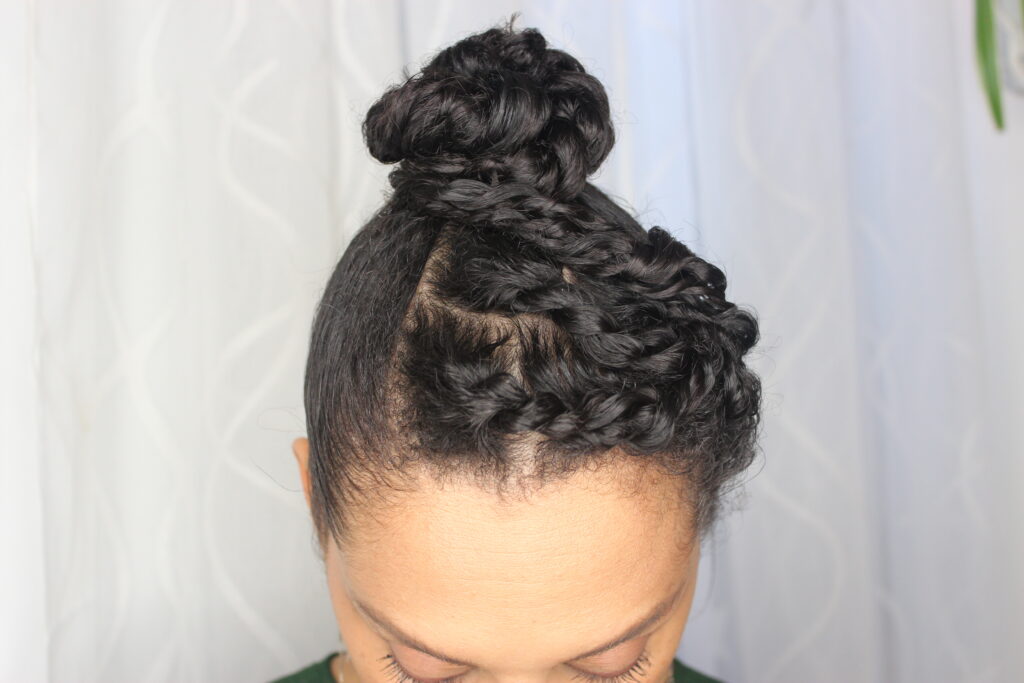
1. Swim Cap for Curls

If keeping your head below water is part of your pool time, then investing in a swimming cap should be on your list. The average cap fits the head well and keeps the water off the hair. However, newer versions create more space for curly hair and Locs. Check out this option from Amazon.

woman swimming in the pool
2. Rinse the Hair Before Entering

If you are not one for swim caps, consider rinsing your hair before jumping into the pool. By taking this tiny step, you are letting your hair absorb non-chlorinated water first which protects the hair.

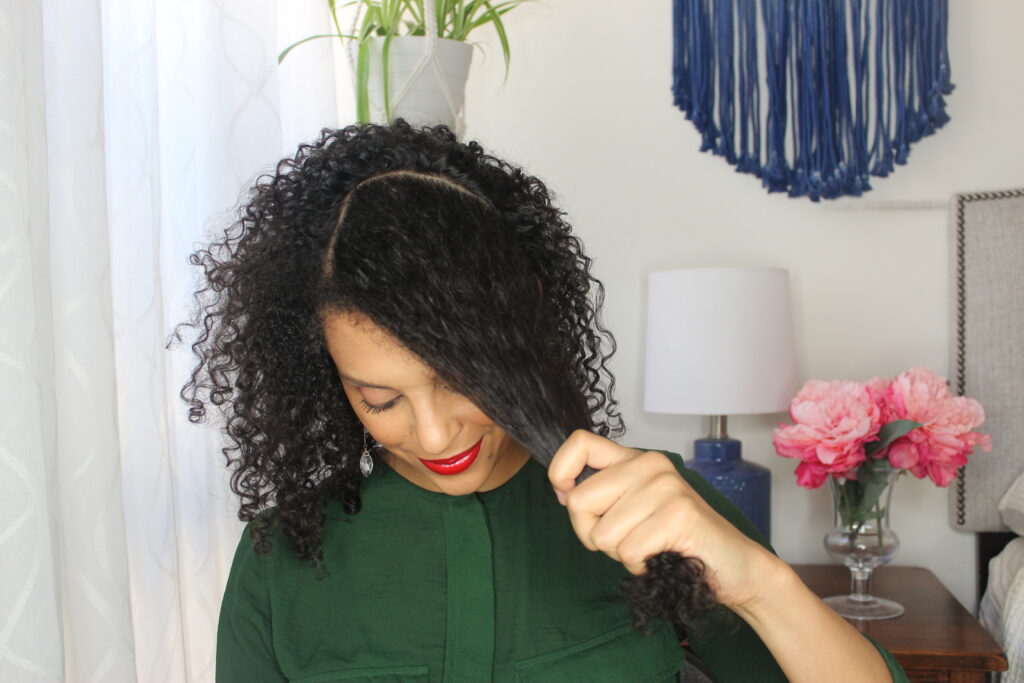
3. Pre-Treat Curls with Oils

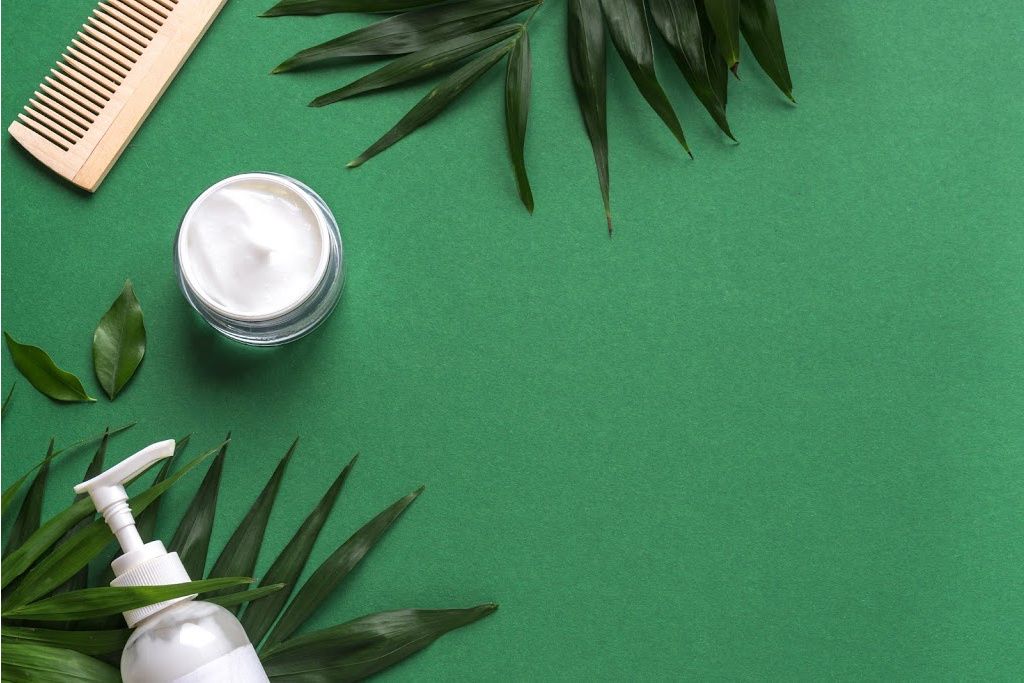
Using oil on curly hair before the dip is another form of protection. Oils seal and protect the hair from exposure to chlorine and the elements. My personal favorites to use are coconut, olive, and grapeseed oil.

protect curly hair at the pool

After-Care Post Swim

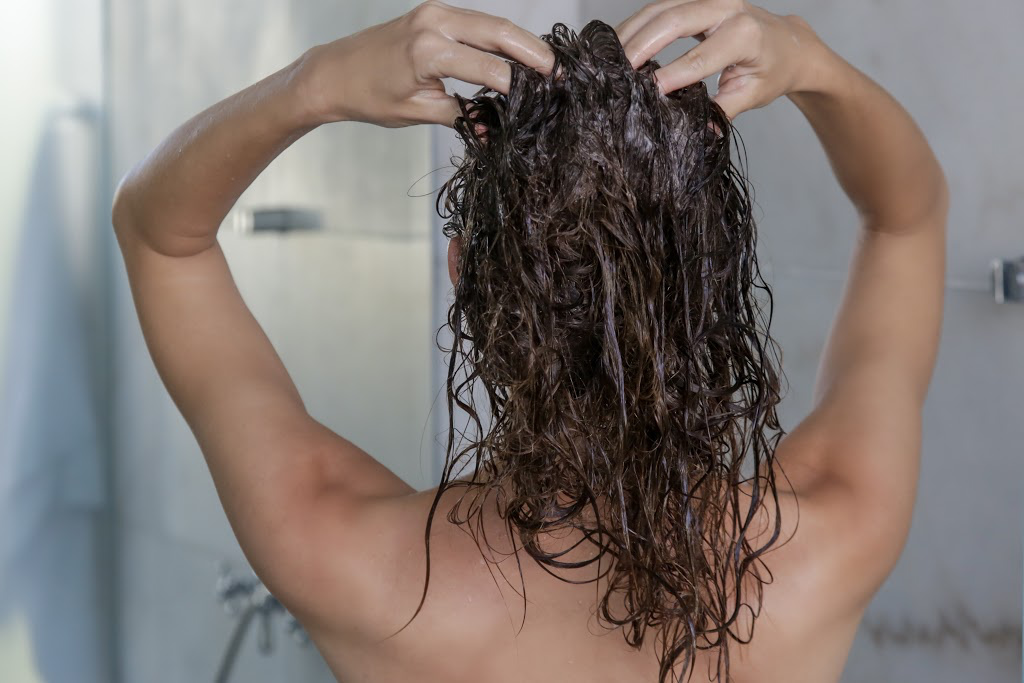
4. Rinse Curls After Swimming

Yes, you heard that right. Not only is it a good idea to rinse your hair before entering the water but after as well. This is especially necessary if you don’t plan to shower immediately. Rinsing the curls post-swim will prevent the hair from further damage, drying out, and frizz.

woman washing her hair
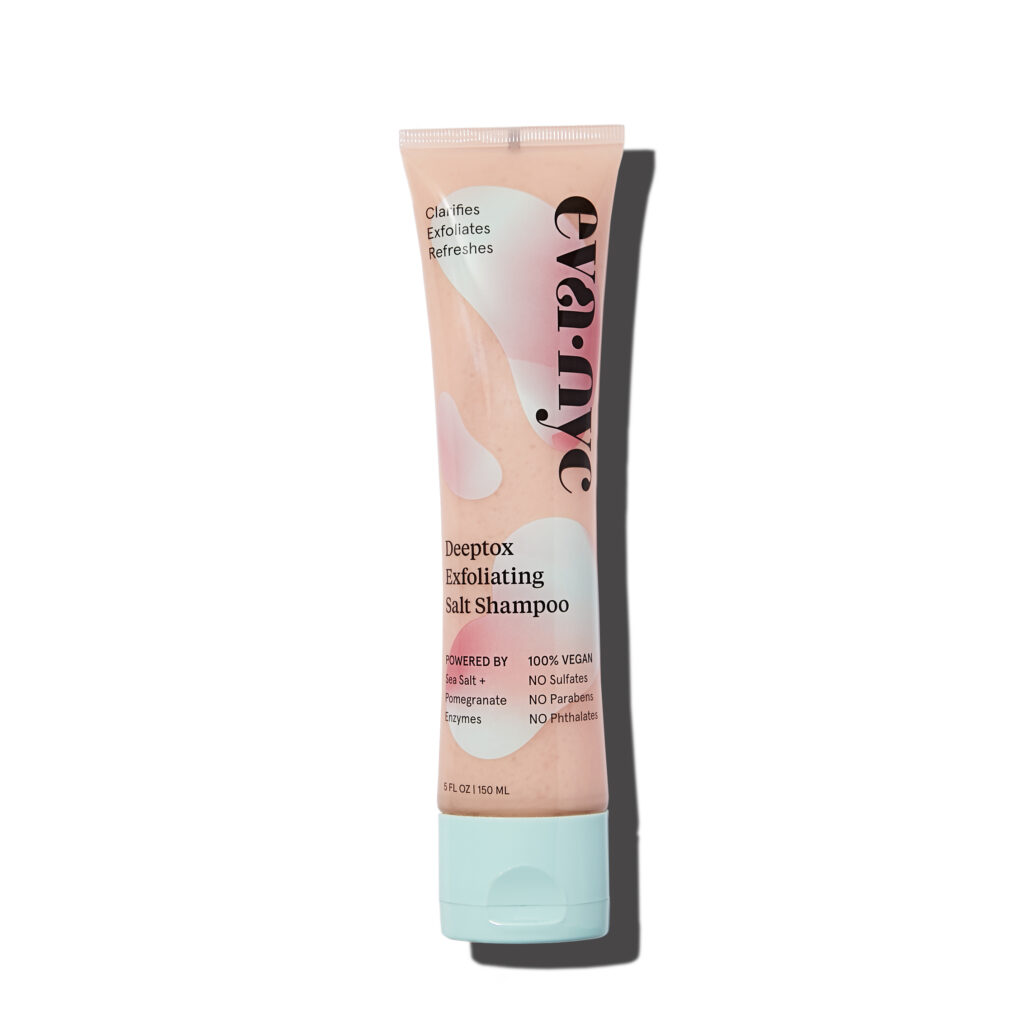
5. Clarify and Condition

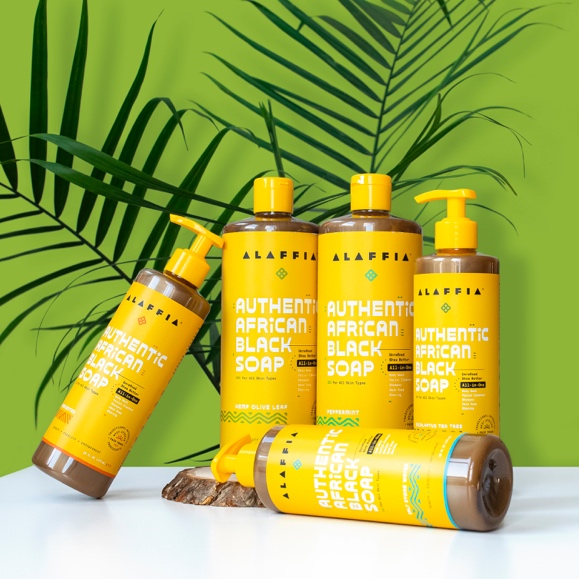
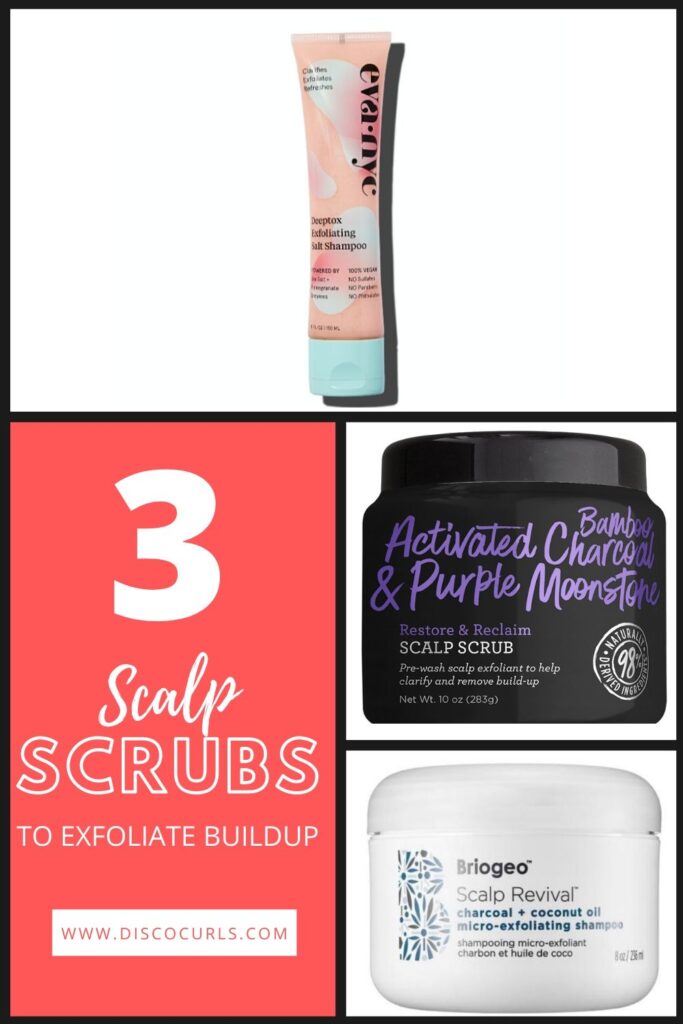
Removing chlorine and buildup from the hair after swimming is beyond important. Not all shampoos are effective at removing it all, so look out for ones that are gentle on curls like Ouidad’s Waterworks Clarifying Shampoo or Kinky-Curly Come Clean.

It’s even more crucial to use a deep conditioner to restore hydration in your curls. Opt for a moisture-rich formula like the SheaMoisture Manuka Honey & Mafura Oil Intensive Hydration Hair Masque.

With these 5 tips, pool day doesn’t have to be the end all be all for your curls. You can enjoy the summer stress-free knowing that your hair won’t be frizzy and dry after a swim. What are some of your favorite curly hair tips for the pool? Share with the community down below in the comments.

0 comment
3 FacebookTwitterPinterestEmail
Wavy Braid Out Hairstyle

Mother’s Day Brunch Hairstyle on Fine, Curly Hair

by Rochelle May 6, 2021

Mother’s Day is right around the corner and it’s a wonderful reminder of how far I’ve come as the mother of 2 boys. They are a huge blessing and have brought me many memories. For this Mother’s Day, I’m looking forward to brunch and I wanted to create a cute braid out style to wear out. I recently cut my hair into a bob and wanted to share how I created an easy Mother’s Day brunch hairstyle on my fine, curly hair.

How to Create this Mother’s Day Brunch Hairstyle

For this braid out, I like to start on dry hair. Then, I begin by combing out my curls to make sure there are no tangles. Next, it’s important to establish how you would like your hair to fall. I chose a deep side part so I section the hair from the arch of my eyebrow to the back of my ear.

Then I take the back half of my hair and place it into a ponytail. With the front section, I add a small pump of my Jane Carter Solutions Wrap & Roll foam to it. Then, I smooth a small amount of Uncle Funky’s Daughter Curly Magic on that same section. This just ensures that there is plenty of hold.

Now it’s time to begin cornrows. The size of your sections will determine if you will have loose or tight waves. I chose to make mine smaller this time around. Cornrows use a similar technique to what some call Dutch braids but there tends to be more than one row of braids.

mothers day brunch hairstyle

Braid Out Tips for Success

In a nutshell, you begin with a regular braid, then add new outside sections to your braid. You take one outside section, cross it under the middle section, and repeat on the opposite end. This process repeats until you can’t grab any more outside sections and finishes off with a regular braid

After completing the first row, the next step is to make another section and repeat the entire process. Once I’ve completed all of my cornrows, I add a perm rod to each end. This ensures that there’s a little bend on the ends when you take your braids down. Then, I wrap my hair in a silk or satin scarf and go to bed.

Styling the Braid Out

The next morning, I take down my scarf and smooth a little bit of oil on my hands. Then, I begin unraveling the braids. This helps my waves look super shiny for this style. After all the braids are taken down, I shake gently underneath to loosen up the pattern.

The end result is a chic, wavy bob that can be worn just like it is or with hair accessories. It’s the perfect easy hairstyle for all occasions that will be sure to turn heads. Let me know if you are feeling this hairstyle by sharing it down below in the comments.

0 comment
0 FacebookTwitterPinterestEmail
image of sustainable beauty products

3 Sustainable Beauty Brands to try this Earth Month

by Rochelle April 25, 2021

As Earth Month comes to an end, I thought I’d discuss 3 sustainable beauty brands to try. I got the idea after completing my spring cleaning and reorganizing my beauty products. Noticeably, the majority of my products packaging stated that they were sourced from recycled items. It’s a small phrase that got me thinking about how I can continue making more sustainable beauty purchases. Here’s a few of my faves.

Alaffia

Alaffia is a black-owned and founded hair and skin care company. Their efforts to give back to the earth include several projects such as the Reforestation Empowerment Project and Regenerative Agriculture Program. Outside of these efforts they focus on eco-friendly packaging. For instance, products such as the  Authentic African Black Soap and the Africa’s Secret Multi-Use Balm are made in packaging that is recyclable and 100% PCR PET. Further, they are sourced from local Washington vendors.

Alaffia Authentic African Black Soap
sustainable beauty brands

My go to skin care product from them is the Authentic African Black Soap. it’s an all-in-one that can be used as a body wash, facial cleanser, shampoo, hand wash, and for shaving. I love that it cuts back on the amount of packaging you have in your shower keeping it clutter-free.

Aveda

Aveda’s principles for sustainability cover a broad area including their 100% vegan formulas, 100% wind power to manufacture products, and partial solar to power their manufacturing facilities. Plus, they try to use recycled plastics for their packaging if possible.

One product to check out from their best sellers is the be curly™ Curl Enhancer styling cream. This cream adds moisture, shine, definition, and also fights frizz. Most importantly, it’s also free from parabens, mineral Oil, petrolatum, formaldehyde & synthetic fragrance.

sustainable beauty products

The Body Shop

The Body Shop is a long time favorite brand of mine that has been a pioneer for women-owned brands. Their focus on empowering women & girls, having a community fair trade program, and using vegan & vegetarian products has proven to show leadership to future brands.

One of their superstar products (in my opinion) for curly hair is the Banana Nourishing Hair Mask. It’s made with vegan ingredients and designed for normal to dry hair. I haven’t used many beauty products with banana (outside of my experiment with a DIY banana baby food hair mask ) but its delicious fragrance is incredible and keeps the hair nourished, feeling soft and shiny.

What are some of your favorite sustainable beauty brands? Share with the community down below in the comments.

0 comment
0 FacebookTwitterPinterestEmail
Holiday Curly Hairstyle

Holiday Curly Hairstyle for Busy Moms

by Rochelle December 1, 2020

This shop has been compensated by Inmar Intelligence and its advertiser. All opinions are mine alone.  #ILookGoody

This year I’ll be celebrating the holidays quietly and with my immediate household. Between my husband and two hungry toddlers, the food preparation won’t leave me with a lot of time to get ready. Fortunately, I’ve mastered the art of getting ready quick and I thought I’d share an easy, holiday curly hairstyle for busy moms.

What You’ll Need…

  • Goody® SlideProof Claw Clips
  • Goody® SlideProof Bobby Pins
  • Spray Bottle with Water or Leave-In Conditioner
  • Edge Control or Pomade
  • Edge Control Brush
  • Smoothing Brush
  • Comb

Before creating this hairstyle, I needed to make sure that I had all of my hair tools and accessories. Unfortunately, I still needed a few items so I continued my search on Walmart.com. I’m a big fan of Walmart because it is affordable, family-friendly, and offers in-store pick up (great for busy moms!).

I was pumped to see that Goody® accessories have a brand new look that is full or energy and creativity.

With my fine, curly hair I’ve always felt confident using Goody® because their products are inclusive and work on every hair type and texture. Plus, using them inspires me to use creativity and show off my self-expression.

Holiday Curly Hairstyle Instructions

This hairstyle works perfectly on hair that hasn’t been washed for a couple days so no need to waste extra time in the shower.

DiscoCurls holding her sectioned curly hair

Start by adding a side part that goes back 2-3 inches from your forehead. Continue that part horizontally towards your ear. Section off and secure the front half using Goody® SlideProof Claw Clips. These work on all hair types, have an amazing grip, and don’t budge for all-day stay.

Holiday Curly Hairstyle

Next, use a spray bottle with water (or your favorite leave-in conditioner) and spray around the perimeter of the back section. Then, use a brush to smooth curls up into a high ponytail. Secure the high ponytail with an elastic.

Split the ponytail into two sections and complete a two-strand twist on each one. Continue twisting each section into a bun.

DiscoCurls holding Goody® SlideProof Bobby Pins
CLICK TO SHOP

My hair texture does a pretty good job holding up a bun but with one wild dance move, this could come apart. Luckily, a simple accessory like Goody® SlideProof Bobby Pins helps secure my updo and gives me confidence that my style will stay put.

Moving onto the front section, remove the Goody® SlideProof Claw Clip and create 2 rows of 5 small sections. For each section, add edge control around the base and use an edge control brush to smooth away any frizz. Then, complete a two-strand twist. Repeat until all sections are twisted.

Holiday Curly Hairstyle

Lastly, place twists strategically along the hairline with the ends twisted towards the base of your bun. When you’re ready to secure your style, insert Goody SlideProof Bobby Pins with the wavy side facing down. The comfort tip on these also ensures pain free styles.

Curly updo with bobby pin

This holiday curly hairstyle is elegant plus, it will keep your hair up and out of the way while you prepare your holiday meals. For busy moms that don’t have time to wash their hair, this is an easy option that still looks glamorous. #ILookGoody

What holiday hairstyles will you be trying this season? Share with the community below!

0 comment
1 FacebookTwitterPinterestEmail
Last Minute Halloween Ideas for Curly Hair

Last Minute Halloween Ideas for Curly Hair

by Rochelle October 22, 2020

With only about a week left until Halloween, many undecided costume ideas may be floating around. If you want to incorporate your curls, there are still tons of last minute halloween ideas for curly hair available. Here are just a few options.

curly ventriloquist puppet costume last minute halloween ideas for curly hair
Photo: Rocio @risasrizos

Curly Ventriloquist Puppet

An easier last minute halloween idea is a curly ventriloquist puppet. All you need is makeup and your curls. To create this look Rocio (@risasrizos) did heavier eye makeup and an intense highlight and contour to look puppet-like. Brown eyeshadow helped create the wood grain effect.

Curly pineapple costume, Fineapple last minute halloween ideas for curly hair
Photo: Brandi @brandirell

“Fineapple”

Curly girl Brandi (@brandirell) got creative with her costume by transforming into a “Fineapple”. In addition to her yellow and brown makeup, she used a green hair color spray for her pineapple. To keep your pineapple extra fluffy, be sure to use a volumizing hair product.

image of halloween ideas for curly hair
Tree of life curly halloween costume last minute halloween ideas for curly hair
Photo: Rochelle Masella @discocurls

Tree of Life

You may need more than a day to prepare for this Halloween idea but it is pretty simple to achieve. Use a green afro wig as your base, a hot glue gun, then use it to attach faux multicolored leaves to the wig. Bonus points if you add a birds nest! All brown clothing will finish the look.

curly mermaid halloween costume last minute halloween ideas for curly hair
Photo: Rocio @risasrizos

Curly Mermaid

More last minute halloween ideas for curly hair include a curly mermaid and sea witch. These Halloween looks will bring your aquatic dreams to life.

The mermaids beautiful turquoise shades make the eyes and lips pop but the real magic happens when you use a stockings to create fish-like scales. Lastly, blue & green hair chalk is used to compliment the makeup.

curly sea witch halloween costume
Photo: Jeanna @jeanna_80

Curly Sea Witch

‘Under the Sea’ you may find this curly sea witch searching for a mermaid. This amazing recreation done by Jeanna (@jeanna_80) managed to still incorporate her naturally curly hair. Outside from her amazing makeup skills and colored contacts, her curls were piled up into a high ponytail and sprayed with white hair color.

What are some of your last minute Halloween ideas for curls? Share with the community below.

0 comment
1 FacebookTwitterPinterestEmail
women on a MacBook

Track Curly Hair Products With This FREE Printable!

by Rochelle August 29, 2020

If you are anything like me, then you may have a collection of unused and half-used curly hair products. I think the proper name for it is product- junkie. We try numerous shampoos, conditioners, curl creams, and gels hoping to find that perfect product and end up with a basket under the sink. Worst of all, we forget what we liked or disliked about them.

Luckily, there is a solution for this and it’s FREE! Introducing the Curly Hair Product Tracker, a printable to document how each and every one of your products works on your curls. No need to to try to remember what it did for your hair because you already wrote down all the details.

Sign up for your FREE Curly Hair Product Tracker

* indicates required

Keep track of how long you’ve had the product opened, how your curls felt after using the product, if it’s Curly Girl Method (CGM) approved, and any product combinations that worked with that product.

If you are looking for a more in-depth way to track your curly hair habits, there is another option. The Curly Hair Tracker is a printable PDF journal that will help document your curly hair routine and concerns. It is designed to bring self-awareness and encourage you to become your own hair detective when it comes to matters of what works for your curls. It can also allow you to pinpoint why you may be experiencing changes to your hair and if necessary, provide documentation to share with your hair care professional or physician.  

After completing the Curly Hair Tracker, you will have dated documents to reference any changes within your curly hair routine, your health, the products you use, and their common ingredients.

GET THE CURLY HAIR TRACKER ON ETSY!

So what are you waiting for?! Take charge of your curls by doing your own detective work.

0 comment
1 FacebookTwitterPinterestEmail
scalp scrubs

3 Scalp Scrubs to Exfoliate Buildup

by Rochelle March 19, 2020

Although they are not new products, scalp scrubs have been increasingly popular to remove buildup, dirt, and clarify the scalp. They are something that I’ve found incredibly helpful since I do nightly scalp massages with oil. So I thought I’d share 3 scalp scrubs that I put on rotation to exfoliate buildup.

Why Scalp Scrubs are Helpful

Like a facial and body scrub, scalp scrubs help remove product buildup, impurities and dead skin cells to reveal clean roots. Scrubs help clarify the scalp and hair which in turn can bring more volume. Using them depend on their specific directions plus other factors like hair color.

To my knowledge, if you have a scalp condition, eczema, psoriasis, irritations, sores or cuts on your scalp you should NOT be using a scalp scrub as it may cause further irritation.

3 Scalp Scrubs That I Love

Scalp scrubs can be physical or chemical but I seem to prefer physical exfoliants better. Here are my current favorites.

Not Your Mother’s Activated Bamboo Charcoal & Purple Moonstone Restore & Reclaim Scalp Scrub

This pre-wash scalp scrub is gentle and uses natural jojoba wax beads to exfoliate. Made with 98% natural ingredients, it doesn’t contain sulfate surfactants, silicones, parabens, dyes, gluten, or phthalates.

Subscribe for your FREE Curly Hair Product Tracker

* indicates required

I like to use this at least one or two days per month on the days I clarify. Because it is considered a pre-wash, I apply a generous amount onto my wet hair before I shampoo. Then, I use the pads of my fingers to gently massage. What I love about this scrub is that it doesn’t feel harsh when I apply it.

After rinsing it out well my scalp feels smooth and refreshed. I can continue with my shampoo and conditioner routine without feeling stripped.

Briogeo Scalp Revival Charcoal + Coconut Oil Micro-Exfoliating Shampoo

If you suffer from a dry, irritated scalp, dandruff or just need something to remove heavy buildup, this micro-exfoliating shampoo is your product. Because the shampoo already includes a vegetable derived exfoliant, after rinsing you can go straight to conditioner.

Although it’s on the pricier side, this has been one of my personal favorites. I’ve always been obsessed with the tingling in my shampoo and this has peppermint and spearmint that cools my scalp. Plus, it contains Binchotan charcoal to remove impurities and coconut that moisturizes. After rinsing it out, my hair feels more hydrated than expected.

Eva-NYC Deeptox Exfoliating Salt Shampoo

This new kid on the block is another unique scrub shampoo combo that exfoliates and cleanses the scalp in one easy step. Similar to most other Eva NYC products, it contains Argan Oil to hydrate and nourish, as well as the brand’s own Keravis Protein Complex to strengthen strands at the root. Best of all, it doubles as a body scrub to smooth rough patches on the body.

In addition, it includes sea salt, pomegranate extract, and witch hazel.

·         Sea Salt – Physically scrubs away dead skin cells and product buildup. Also increases blood circulation, promoting a healthy scalp

·         Pomegranate Extract – Known for its potency of antioxidants, this ingredient keeps you beautiful inside and out. In this formula, the extract provides purifying and anti-inflammatory benefits

·         Witch Hazel – A commonly known natural astringent, it clarifies the scalp and normalizes oil production

Sea salt is not something I normally use on my scalp and hair because it can be a bit drying. However, the mixture of argan oil helps it feel slippery while applying. This creates a nice sudsy consistency and a little goes a long way.

Out of the three scalp scrubs mentioned, this felt to be the most clarifying. With that being said I may only use this about once a month on my scalp and I do recommend following up with a deep conditioner after use.

Have you ever tried a scalp scrub on your curls? What were your results? Share with the community down below in the comments.

2 comments
0 FacebookTwitterPinterestEmail
curly hairstyles

Easy Curly Hairstyles for Busy Moms

by Rochelle March 11, 2020

Do you find that you have very little time to style your curly hair as a mother? Well, after having a 2.5 year and 14 month old I have learned that time is truly of the essence. Luckily, I’ve come up with 3 easy curly hairstyles that any mom can do in just a few minutes.

I really wanted to share a few styles that you can complete in minutes because I remember how hard it was to be pregnant while chasing a toddler. I had no time to spend on my hair (and still don’t) but wanted to make somewhat of an effort. Here are a few easy styles to try.

3 Easy Curly Hairstyles

Half Up Half Down With Mini Clips

Using mini clips brings me back to the 90’s and early 2000’s. It was such a huge part of hairstyles to include them and use different colors.

For this style, start by gathering a small horseshoe sized section up front for the half up part of your style. No need to make the section perfect as it is meant to be unpolished. Within that section of hair, create three mini sections and use mini butterfly clips at the base to hold and create lift.

Curly Hairstyle

Curly Low Twisted Bun

Using the same horseshoe sized section, I pull back my bangs to create a pouf and then secure it with bobby pins. Then grab two large sections from each side of your head but in front of your ears. Gather the two sections towards the back of your head into a loose ponytail and secure it with a tiny elastic.

With that same ponytail, create a hole above the elastic and flip the tail into the hole. Pull the tail through. Then, repeat this step until the tail is hidden to create a bun. Add pins as needed.

You will continue making two more ponytails and repeating the process. The bottom ponytail can be left out or put into a bun. Add embellished pins , a head wrap, or combs to dress it up.

Curly Updo

Braided Curly Half Updo

For the last style, use the same horseshoe section and create a braid that falls to one side. Create another single braid at the front that’s falls to the other side off center. Pin the two braids together at the center of your crown. Add decorative gold or silver cuffs to the braid.

Braided Curly Half Up Hairstyle

Want a video tutorial on these easy curly hairstyles? Watch my YouTube video below.

1 comment
0 FacebookTwitterPinterestEmail
transitioning curls

10 Tips for Transitioning Curls

by Rochelle February 28, 2020

The transition from straight to naturally curly is not the easiest process. It’s a journey, right? If you’re not going to do the big chop, then you have a whole other set of obstacles to face. So, I’m going to share my favorite 10 tips for transitioning curls.

While I was transitioning, YouTube wasn’t as popular as it is now and the amount of influencers that I could relate to varied. I relied heavily on my hairdressers and friends with curly hair to figure it out. So I want to share a few general rules along with my personal tips for a successful transition.

#1 Stay Away from the Heat!

No blowouts or hot tools. Heat damage is probably the worst thing you can do while transitioning. It’s also the hardest part of the entire process, especially if that is what you’re used to doing daily. Trust me, you’re going to get frustrated as you watch some areas grow in curly while the ends are straight. However, there are solutions for that (See #7 below). Also, occasionally straightening your hair with hot tools can possibly start you back at square one.

#2 Stay on top of your trims.

You don’t have to big chop but what I noticed is that everytime I trimmed, my curls got a little tighter and bouncier. That’s because I was slowly removing the dead ends. Think of it as dead weight just holding your curls back from their full potential.

#3 Consider a Protective Style

This tip is not totally necessary but it was what I personally did while I transitioned. My hair was damaged so badly with bleach and relaxer and it started breaking off. I put in a partial sew-in weave because I was feeling so embarrassed .

The majority of my hair was in a protective corn-row with my hairline and a horseshoe section left out. That was done so I could hide the weft and occasionally put my hair up into a ponytail. There were pros and cons to this but it helped the hair growth transition move faster while hiding the damage. Find out my pros and cons of wearing a sew-in weave for long periods of time.

Subscribe Here for my FREE Curly Hair Product Tracker

* indicates required

#4 Limit Your Use of Silicones

Silicones offer a temporary solution for frizz, they help with slip in our conditioners, and add shine but it’s short lived. In the long term, they can weigh down your curls and cause buildup. They are harder to remove so you really need to clarify to get them out of your hair. The more often you use silicones, the more often you will have to clarify. A consistent cycle can lead to further dryness.

In my opinion, silicones are not that evil. In fact, there are a few instances when I think they’re ok. For example, if you swim in chlorinated water, silicones can help create a barrier between your hair and the chlorinated water. They also provide protection from heating treatments (if you still use them while transitioning). However, certain oils, conditioners, and using a swim cap can offer the same protection without the use of silicones.

image of rochelle masella with damaged curls vs healthy curls

#5 Don’t Forget to Clarify!

It might sound like I’m contradicting myself after reading #4 but it’s still important to clarify. Excess buildup, debris, and possible fungus can happen and cause a number of problems if it’s not addressed.

My weekly wash and go’s go something like this. Wash the hair twice per week. Co-wash one day and clarify the other. Because I hardly use silicones, I can safely use gentle clarifying shampoos like Kinky Curly Come Clean Shampoo to clarify.

However, if you do use products that contain non-soluble silicones you will more than likely need a sulfate shampoo to get rid of the buildup. Just be sure to follow up with a deep conditioner afterwards.

#6 Weekly Deep Conditioners

Repairing your hair with deep conditioners while it is transitioning is a definite yes because you want to prevent further damage. I found it common to experience breakage and thinning at the line between new growth and the relaxed/heat damaged hair.

#7 Train Transitioning Curls with these Tips

Finger coils are amazing for transitioning curls. They keep the curls uniform and just train problem areas. You can also use perm rods or flexi-rods on straight ends to help match you natural curl pattern.

#8 Search for your Curl Twin and Not Your Curl Crush

There’s a big difference between relating and wanting. Don’t expect to get the same results as your curl crush if you don’t share the same hair texture, porosity, and density. You may not get the results they get. They might offer great general advice but listening to your curl twin will give you a more realistic expectation.

#9 Rotate Your Products

If you’ve been using the same product for a while and your curls don’t look like they first did, try something new. You’d be surprised how a simple switch can revive your transitioning curls.

#10 Embrace the Journey.

It’s not going to be easy. You will learn a lot but the transition itself does feel like a transformation from within. I felt so happy when I reached the end of my journey. Through experience and a lot of trial and error, I feel a bit like a curl expert ready to exchange my expertise to someone in need of curl advice.

I’d love to hear from all of you about your favorite transitioning tips down below in the comments. Want to hear more transition tips for curls? Watch the video below.

0 comment
1 FacebookTwitterPinterestEmail
image of hair dryer and hair tools

Sew In Weave Pros and Cons (On Fine Curly Hair)

by Rochelle February 22, 2020

Over a decade ago, I wore a sew in weave on my fine curly hair. There were many factors as to why I did but it truly came down to my insecurities. My hair was damaged so badly with bleach, relaxer and started to break off. So, I thought I’d share the pros and cons that I experienced from wearing a sew-in weave.

How It Began

This was back in the early 2000’s at a time when I still hated my curls and naturally curly hair was not as normalized as it is now. You didn’t see celebrities, models rocking their natural curls. The majority of them were using flat-irons, still relaxing, wearing weaves and wigs. Plus, I was young and very influenced by it. 

In my eyes, I wanted to fit into the norm. I figured as long as my hair was in the condition it was, wearing a weave would hide and conceal my damage. When it came time to get my weave, the majority of my hair was in a protective corn-row with the hairline and a horseshoe section left out. My tracks were sewn in with a needle and thread. This was done to hide the weft and so I had the option to put my hair into a ponytail.

Image of girl with fine curly hair

Pros and Cons of Wearing a Sew In Consistently

There were some pros and cons to wearing that type of weave. The pros included impressive hair growth every time we took it down to install new tracks. Another pro is that no one noticed the transition. My hairstylist took out my tracks and braids monthly, washed my hair, gave it a treatment, and trimmed my ends. Then we’d braid it back up and add the tracks again.

However, there were major cons that I blame myself for. For instance, I wasn’t giving my hair a break from the high tension protective style and the weight of the hair. It put so much stress on my hairline. My insecurities let me keep repeating this process for 8 YEARS causing traction alopecia that I still deal with to this day.

On top of that, I wore tracks that didn’t match my hair texture so I was constantly manipulating my natural hair texture with hot tools. While the braided areas were doing great and feeling healthier, my hairline and the horseshoe section had heat damage.

What I Learned

Looking back at that time and knowing what I know now, here’s what I would have done differently. I would have found my exact hair texture in those tracks just to avoid the heat damage. In addition, I would have also trained my hair to match my hair texture by using heatless options like perm and flexi-rods.

I definitely would have taken at least a month off in between each installment and for the sake of my edges. The stress and consistent tension were avoidable and completely my choice. The lesson learned here is finer, low-density textures have to be careful with high tension styles, heavy braids and twists.

Have you experienced traction alopecia from wearing weaves and high tension hairstyles? Share with me down below in the comments.

1 comment
0 FacebookTwitterPinterestEmail
Newer Posts
Older Posts

Newsletter

Keep in touch

Instagram Pinterest Youtube
discocurldesigns - Etsy
Shop Curly Hair Merchandise by discocurldesigns located in LA, California.
  • Facebook
  • Twitter
  • Instagram
  • Pinterest
  • Youtube
  • Contact
  • Privacy Policy

© 2016-2023 DiscoCurls.com. All Rights Reserved.


Back To Top
DiscoCurls
  • Home
  • Curls
  • Beauty
    • Makeup
    • Skincare
    • Nails
  • Style
  • Lifestyle
    • Pregnancy
  • Videos
  • Contact
  • Resources
    • FREE Curly Hair Product Tracker
  • YouTube
  • Shop
    • Amazon
    • Etsy
    • Teespring Store
    • ObsessedWith.It
  • Links

Shopping Cart

Close

No products in the cart.

Close